Paalkova/Thirattipaal/Milk Fudge


Ingredients
1. Milk 3/4 gallon
2. Sugar 33/4(three plus 3/4 cup) - 4 cups
Method Of Preparation
1. Add milk in a heavy bottomed pan. Let it come to a gentle boil on a medium-low flame.


2. Once the milk is boiled, reduce the flame to low & let the milk keep boiling & condense & reduce in volume. Keep stirring occasionally, may be once in 1/2 hour. As the milk boils, it thickens & there will be milk solids forming on the sides of the pan & cream on the top(see pic below). Using a ladle, scrape the solids & cream off & add it back to the milk.

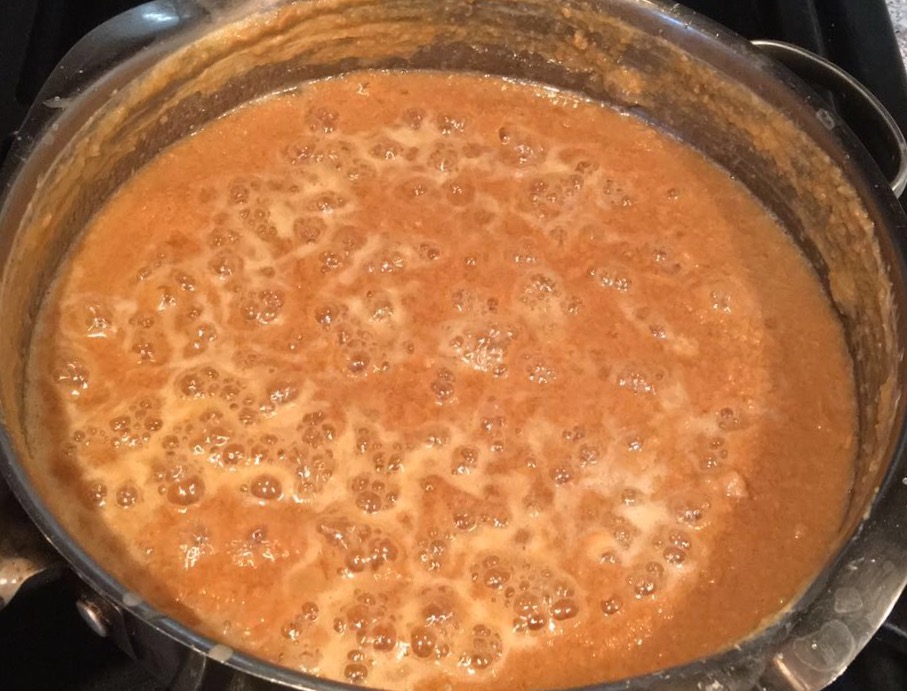
3. When the milk reduces to 1/3rd of its original quantity & when it begins to thicken & solidify, you will see a very light brown shade(see pic below) & you will get a very nice aroma from the milk. This takes more than 3 hours. That is when you know that you need to add sugar.

4. At this point, add sugar & continue to cook. When it begins to thicken further, keep stirring it continuously. You need to turn off the gas stove when you see the paalkova/milk fudge thicken & starts sticking to the sides of the pan & when you take out a little you should be able to roll it into a ball.


5. Do not let it thicken too much or let it dry because it is anyway going to thicken a while after turning off the gas. So if you let it thicken too much before turning off the flame, it will become rock hard a while after its done. So take it out at the right time, that is, when it's a little moist.


Notes
1. You need to use a heavy bottomed pan to make the paalkova/milk fudge otherwise the milk will definitely get burnt & the sweet is going to be spoilt.
2. You will not have to stir the milk continuously if your using a heavy bottomed pan.
3. Make sure that it is done on a low flame. Do not increase the flame at anytime to get it done faster. It will spoil the whole process.
4. Reduce the quantity of sugar if you feel the above mentioned quantity is a lot.
5. I used a heavy bottomed pan & cooked on a low flame so, there was no burning or sticking to the pan(see pic below).

No comments:
Post a Comment